Complete Procedure for Preparing Cages Before Introducing Chicks
“Placing chicks into cages” is the final step in settling them into their new environment. No matter how smoothly the preceding transport process goes, a lack of proper preparation for this stage can still lead to serious issues once the chicks are housed. The core objective of this preparation is to ensure that all equipment is fully operational, allowing the chicks to eat, drink, and rest immediately upon arrival, without the need for further, stressful adjustments.
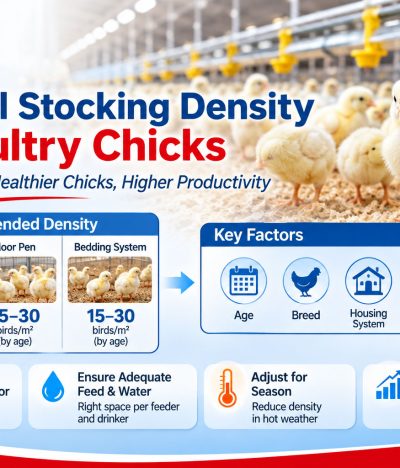
Preparing for the arrival of chicks is not just about any single piece of equipment; it involves a comprehensive, systematic process. This includes cleaning and disinfecting the empty facility and cages, pre-heating the brooding area, testing the watering system, ensuring that feed trays and feed are in place, preparing cage bedding, stocking necessary medications and emergency supplies, and planning for stocking density and flock distribution. A chronological, actionable checklist is provided below.
Why Pre-placement Preparation Determines Success or Failure in the First Two Weeks
Inadequate preparation prior to placing chicks in the brooding facility often leads to several issues: recurring bacterial infections, dehydration, impaired yolk sac absorption, chicks huddling together (resulting in suffocation), uneven feed intake, poor flock uniformity, and an increased mortality rate during the first three days. Cleaning, disinfection, and temperature regulation are particularly critical—the former dictates the risk of early-stage bacterial infections, while the latter directly influences how well the chicks adapt to their new environment.
I. Cleaning and Disinfection: Complete 3–7 Days in Advance
This is the step most frequently overlooked, yet it directly determines whether bacterial diseases will break out during the first two weeks.
Preparing Empty Houses and Cages
After the previous batch has been removed, clear away all manure, bedding, and feed residue.
Washing
Use a high-pressure water sprayer to thoroughly clean cages, feeders, and drinkers, paying special attention to corners, mesh openings, and crevices.
Disinfection
Apply a disinfectant—such as an iodine-based solution or a quaternary ammonium compound—ensuring full coverage of cage floors, walls, and the ground. If feasible, and in accordance with local regulations and professional guidance, perform fumigation; ensure the facility is thoroughly ventilated afterward.
Drying and Preparation
After disinfection, open windows and doors to allow the facility to air out and dry. Close them 24 hours before the arrival of the new flock to begin pre-heating.
Failing to disinfect before introducing the birds can lead to a succession of health issues—such as pullorum disease, omphalitis, or *E. coli* infections—and may result in a significantly higher mortality or culling rate during the first 10 days.
II. Temperature Equipment Setup: Begin 12–24 Hours in Advance
One of the most critical tasks before placing birds into the cages is preheating the brooding area and ensuring a stable temperature.
Preheating: Activate the heat source in the brooding area 12 hours in advance. The target temperature for the first 3 days is 32–35°C.
Multi-point Temperature Monitoring: Place thermometers at various heights and locations within the cages—including the bottom and middle tiers, as well as the corners and the center—to ensure that temperature variations do not exceed 2°C.
Heat Source Positioning: Position heat lamps 40–50 cm above the floor or cage mesh; placing them too close risks overheating the birds, while placing them too far away may result in insufficient warmth.
Thermostat Testing: Test the sensitivity of the sensors in any automated temperature control system and calibrate the set values.
Backup Heat Sources: Keep spare heat lamps or space heaters on hand to prevent issues in the event that the primary equipment fails during the night.
III. Preparation of the Watering System: 2 Hours Before Placement
The goal of preparing the watering system is to ensure that, upon arrival, chicks can quickly locate water, access it easily, and drink comfortably.
Testing: Check all drinkers and water lines to ensure there are no leaks or blockages, and that the water pressure is appropriate.
Water Level Control: For shallow trays or bell-type drinkers, maintain a water depth of 0.5–1 cm—sufficient for drinking, but shallow enough to prevent the chicks’ nostrils from being submerged.
Water Temperature: At the time of placement, the water temperature should be between 20°C and 25°C (lukewarm to the touch).
Initial Drinking Solution: Add 50g of glucose per liter of water (a 5% glucose solution), supplemented with electrolytes and multivitamins to help the chicks cope with stress.
Watering Point Density: Provide at least 2–3 watering points for every 100 chicks, ensuring that no chick has to travel more than 1.5 meters to reach water.
If chicks are placed before the watering system is ready, they may fail to find or access water. Dehydration lasting longer than 6 hours can impair yolk sac absorption and may lead to an increase in mortality during the first three days.
IV. Preparation of Feeding Equipment: 1 Hour Before Chicks Enter the Cages
Feeding Trays or Paper: Line the cages or brooding area with dark-colored kraft paper, plastic sheeting, or specialized chick-feeding trays, covering approximately one-third of the total floor space.
Feed Selection: Use a specialized “starter” crumble feed, or a homemade mixture of crushed corn and cooked egg yolk. Avoid using large-particle feed for the first two days, as the chicks will be unable to peck or consume it.
Feed Quantity: Scatter small amounts frequently. For the first feeding, provide 200–300g per 100 chicks; add more only after the previous portion has been consumed.
Feeding Space: Ensure each chick has 1–1.5 cm of linear feeding space to prevent overcrowding, competition for food, and trampling.
V. Management of Cages and Litter
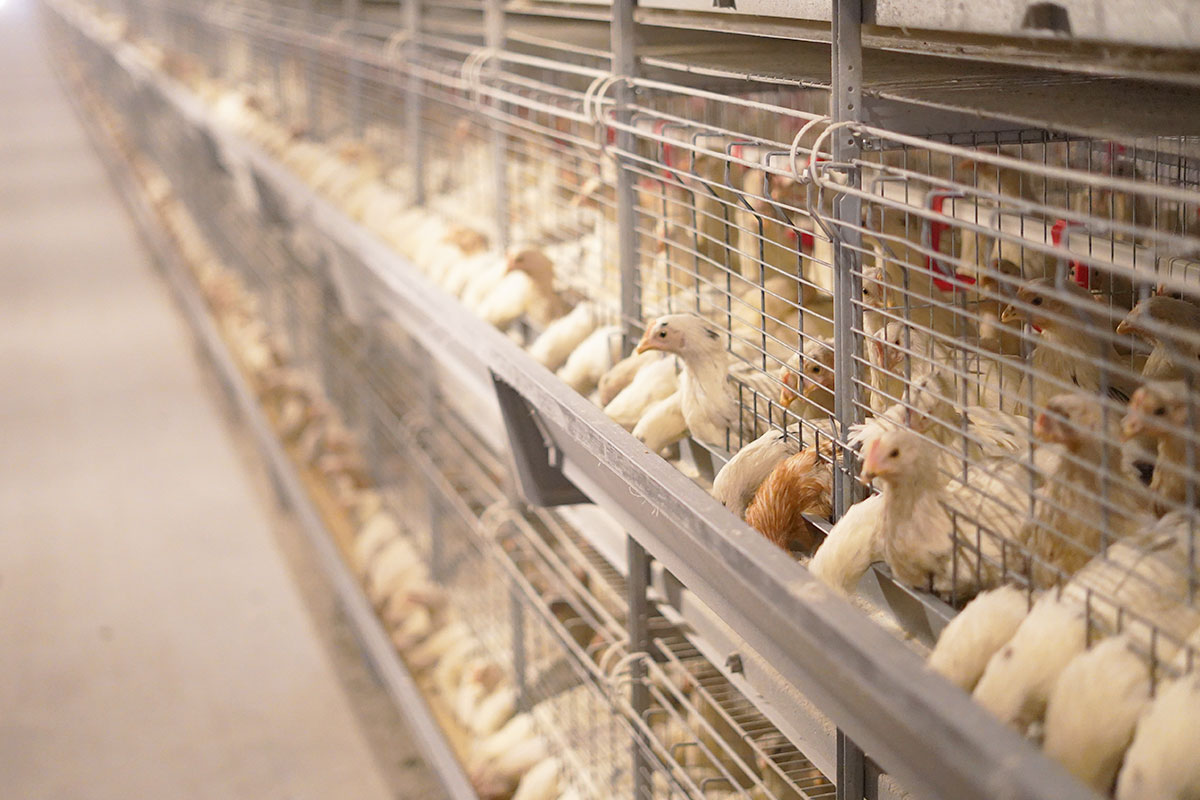
Cage Rearing
Line the bottom of the cages with plastic mesh or cardboard. Newly hatched chicks have delicate feet; if they walk directly on wire mesh, their feet may get caught, or they may develop breast blisters. Replace the mesh or cardboard every 2–3 days to keep the area dry. Inspect cage doors and partitions to ensure that any gaps are less than 1 cm wide, preventing chicks from squeezing through and getting stuck.
Floor Rearing
Spread a 5–8 cm thick layer of dry litter—such as wood shavings, rice husks, or chopped straw—ensuring it is distributed evenly and laid flat. Bring the litter into the poultry house 24 hours in advance so that its temperature and humidity can equilibrate with the environment. Any areas where the litter has become damp or clumped should be removed and replaced.
VI. Emergency Preparedness: Pre-placement Checklist
Two backup heat lamps.
Two backup thermometers (one mechanical and one electronic).
A small generator or an uninterruptible power supply (UPS)—especially important in areas with frequent power outages.
A flashlight for checking the chicks during the night.
Extra cardboard boxes or small brooder containers for isolating weak chicks.
Final Checklist (1 Hour Before Placement)
Brooding area temperature reached (32–35°C), with a temperature variance of less than 2°C across different spots.
Waterers filled and leak-free; water temperature at 20–25°C.
Feed trays or paper liners in place, with feed already distributed.
Cage-bottom mesh or bedding material properly installed and dry.
Glucose and electrolytes/multivitamins dissolved in the drinking water.
Weak chicks identified and separated into a designated small brooding area.
Backup heat sources and thermometers in position.
Ventilation openings adjustable to allow for air exchange while maintaining warmth.
Placing chicks into brooding cages is not merely the act of putting them inside. it is the culmination of thorough preparation—including disinfecting the empty facility, calibrating equipment, setting up water and feed, preparing bedding and cages, ensuring emergency supplies are on hand, and managing stocking density. Following a structured timeline—disinfecting 3–7 days in advance, preheating 12–24 hours prior, testing water systems 2 hours before arrival, and preparing feed 1 hour before placement—along with a final item-by-item check, will help chicks adapt to their environment more quickly. This reduces stress and mortality during the first two weeks, laying a solid foundation for flock uniformity and future production performance.