Three Key Points for Opening The Ventilation Windows in The Chicken Coop
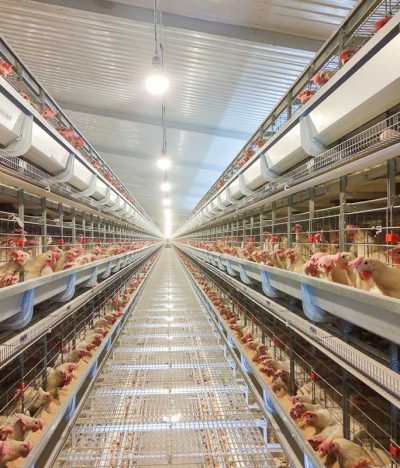
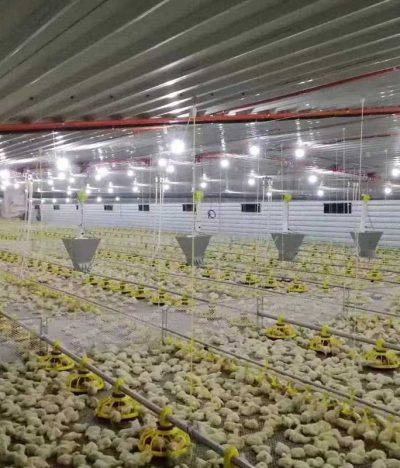
In autumn and winter, ventilation management in chicken coops becomes paramount to the success or failure of poultry farming. In the minimum ventilation mode, the small windows on the side walls play a crucial role in air intake. However, many farmers are confused about the correct use of these windows, mainly focusing on three questions: When to open them? How wide should they be opened? How large should they be opened? This article will break down these questions in detail, providing clear and actionable solutions.
Key Point 1: Timing of Opening – Pay Attention to Humidity
The timing of opening the small window is not arbitrary but based on clear scientific principles.
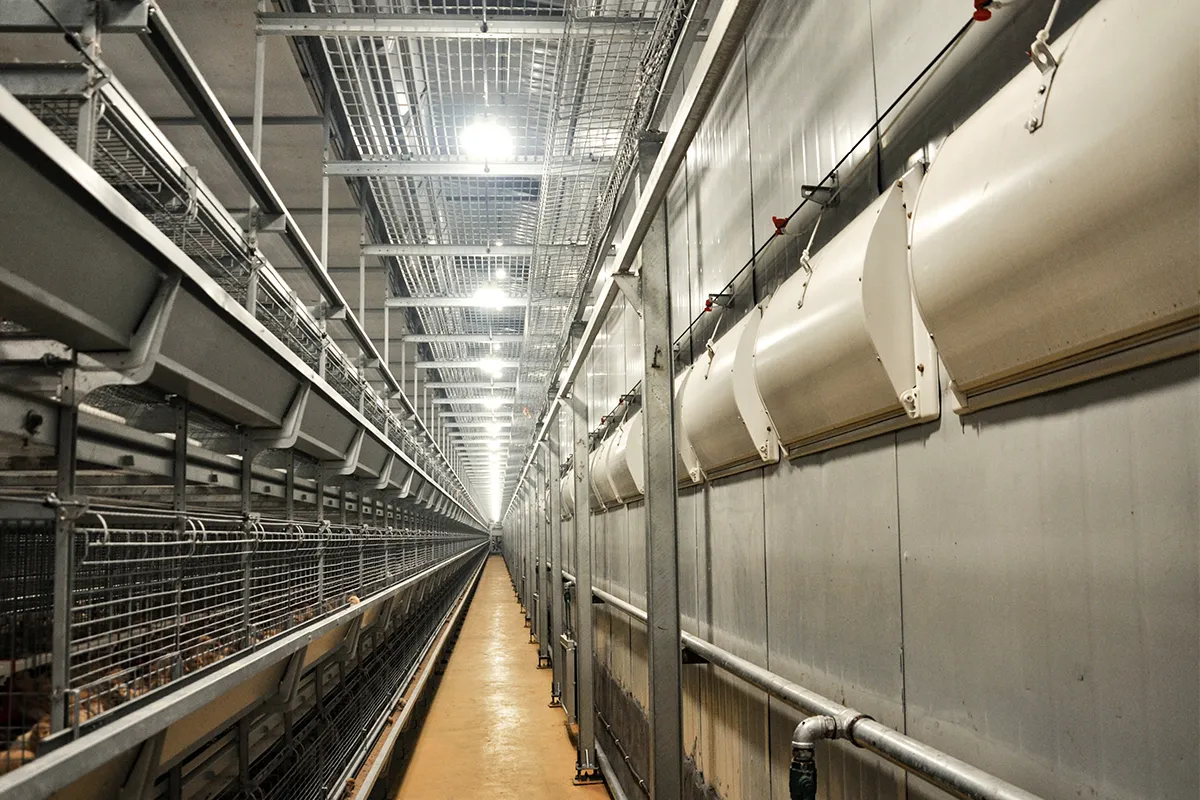
Core Indicator: Humidity Inside the Chicken House. When the humidity inside the chicken house exceeds the target setting, it means there is too much moisture in the air and harmful gases (such as ammonia) are beginning to accumulate, requiring ventilation to replace them. At this time, the fan starts working, and the opening of the small window must be synchronized with the fan’s operation. The fan is responsible for “exhausting,” and the small window is responsible for “incoming”; both are indispensable.
Best Practice: In chicken houses with the necessary facilities, it is recommended that the small window open and close synchronously with the fan’s operation. That is, when the fan starts, the small window automatically opens; when the fan stops, the small window automatically closes. This effectively prevents cold air from directly entering the chicken house through the small window when the fan is not working, causing drafts to affect the chickens.
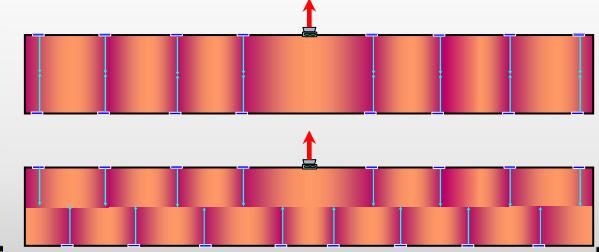
Core Concept Two: Number of Openings – Skillful Use of the "Interval" and "Radiation" Principles
The number of small windows to open depends on two factors: the cumulative ventilation requirement and the spacing between the windows. The goal is to ensure that the incoming fresh air is evenly distributed, avoiding ventilation dead zones and cold stress.
Basic Principle: Interval Opening. If the installation interval of the small windows is within 1 meter, interval opening must be considered. For even smaller intervals (e.g., 30 centimeters, about the distance of a hollow brick), a “two-open-one-open” approach can even be adopted.
Dispelling Misconceptions: No Need to Worry About Dead Zones. Some people worry that opening fewer small windows will lead to uneven ventilation. In fact, while the air entering through the small windows moves in the direction of the opening, it also diffuses to both sides at an angle of about 11° (according to foreign research data). This means that the air entering through each small window can cover a fan-shaped area. For standard broiler houses, when the small window interval is about 1 meter, interval opening is perfectly sufficient to ensure even air distribution.
Advanced Technique: Cross-Opening. For breeder chicken houses, floor-raised chicken houses, or houses with large gaps between small windows, the “cross-opening” method can be used. This involves opening the 1st, 3rd, 5th… small windows on the left, and the 2nd, 4th, 6th… small windows on the right, creating cross-flow and making the air more evenly mixed. This method is also applicable to broiler chicken houses, with even better results.
Core Three: Opening Size – Mastering the Balance Between "Stability" and "Safety"
The size of the small windows directly affects the shape and landing point of the incoming airflow, which is crucial for preventing cold stress in the flock.
Golden Size: 5 cm or more. Many people are accustomed to opening the windows 3-5 cm, but practice has shown that when the opening is less than 5 cm, the resulting air layer is too thin and easily disperses prematurely during friction with the warm, humid air inside the house, failing to reach the center. An opening of 5 cm or more creates a thicker, more stable airflow, allowing it to reach the intended area with sufficient kinetic energy for thorough mixing.
Special Circumstances Adjustments:
1. Rough Roof: If the roof is uneven, air resistance is greater during airflow, making it easier for air to diffuse due to friction. In this case, the opening needs to be appropriately enlarged to ensure the effective range of airflow.
2. Small Window Too Close to the Cage Top: This is one of the most common misconceptions. If the small window is too close to the top cage, the opening must be reduced (possibly less than 5 cm). The purpose is to prevent large gusts of cold air from directly hitting the top cages, causing severe cold stress. Simultaneously, if the chicken house is not wide (within 15 meters), a slightly smaller negative pressure can be used to encourage the incoming cold air to diffuse to the sides earlier and further, thus protecting the chickens in the top cages.
Managing small window ventilation in autumn and winter is a delicate science. Remember these three key points:
* Check humidity and adjust the opening time in conjunction with the fan.
* Determine the number of windows based on the interval, flexibly using intervals and cross-opening.
* Adjust the size as needed, aiming for stable airflow while ensuring the safety of the chickens.
By precisely mastering the art of opening the small windows, one can find the optimal balance between heat preservation and ventilation, creating a healthy environment with fresh air and suitable temperature for the chickens, allowing them to smoothly pass through the autumn and winter seasons, and ultimately maximizing the benefits of breeding.